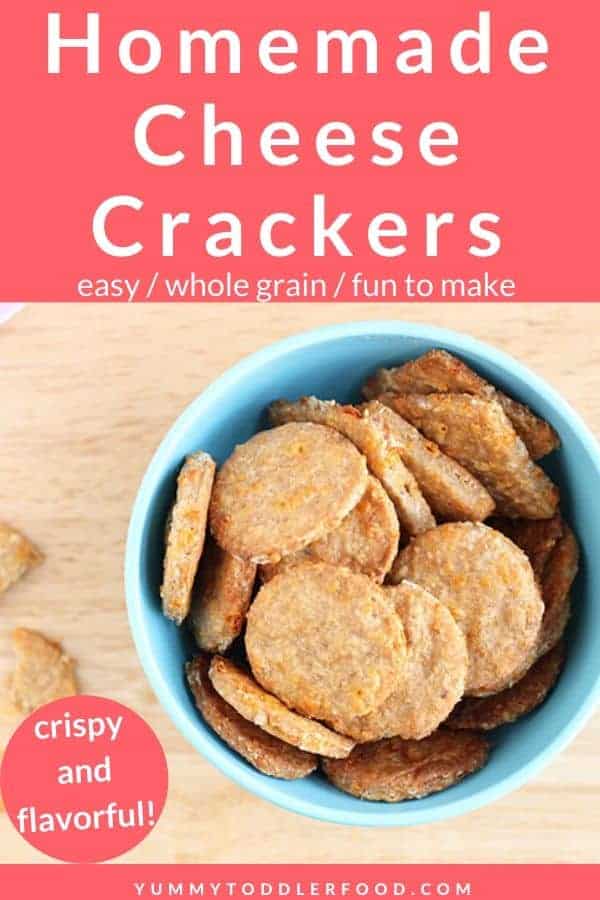
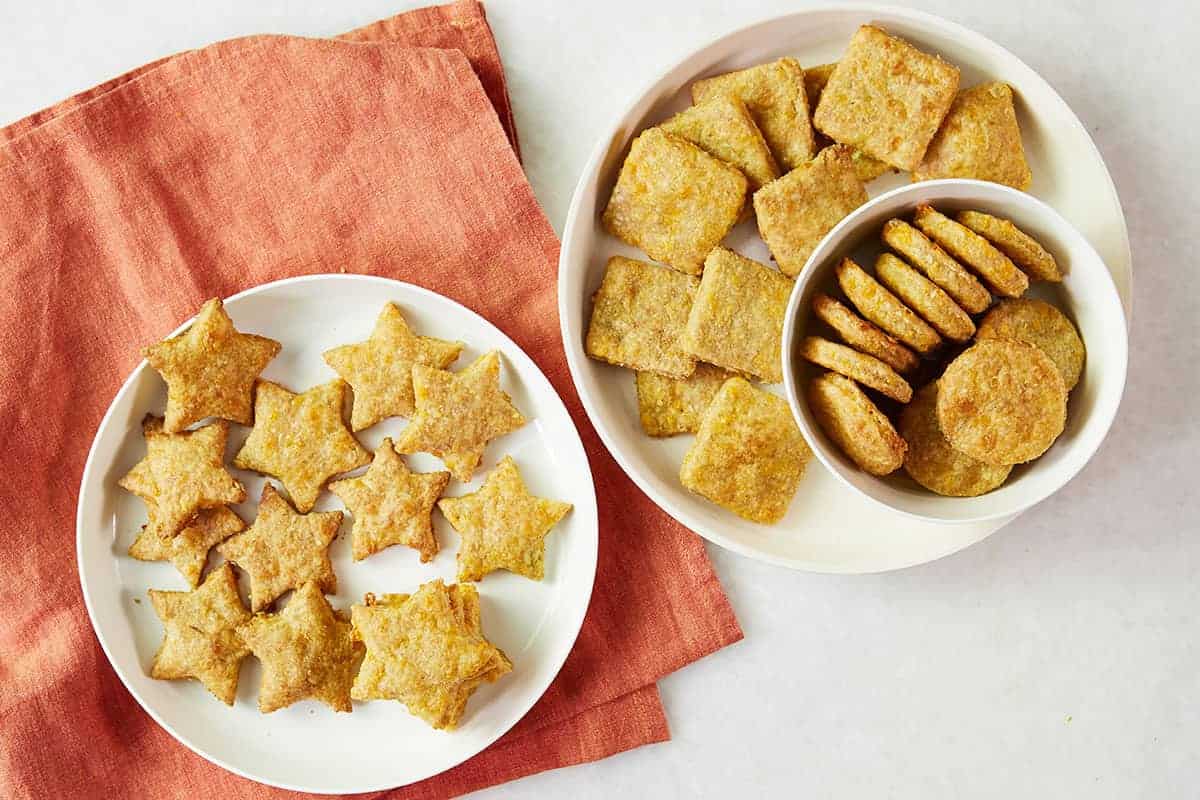
Mix up this easy-to-work-with cracker dough, then let the kids help to roll and cut their way to the yummiest homemade Cheese Crackers recipe. These crackers have whole grains and a delightfully crisp texture. So good!

Cheese Crackers
While I don’t always bake with my kids and I don’t always make homemade versions of foods we can buy at the store, there are times when I do both—and these are favorites!
The dough is easy to make and with. My girls love to roll it out and cut shapes…and then eat the batch for snack time.
The method for making this dough uses the food processor, which turns the ingredients into a smooth dough that’s perfectly pliable. The dough is not too sticky, so it’s a good one for kids to help cook since they can easily participate in each step. (Or just the cutting out step if you want to simplify.)

There are no fancy ingredients or methods here, so you might even be able to make these with ingredients you already have in the house. Plus, the whole grains from the flour and oats add complex carbohydrates and fiber to the snack. Paired with the protein from the cheese, these whole wheat crackers are a nicely balanced food all on their own.
We like to make them mid-morning or after nap time to enjoy as a snack when they’re fresh out of the oven.
Ingredients You Need
To make this recipe, you’ll need to have the following ingredients on hand. (Most are pantry staples, so you may have them all already!)

- Shredded cheese: I like to use mild or sharp cheddar cheese. White or orange will both work. You can use shredded mozzarella if you prefer, too.
- Rolled oats: These are sometimes called “old-fashioned oats” at the store and add whole grains to the batter.
- Whole wheat flour: Or you can use a gluten-free flour blend or all-purpose flour.
- Milk: I use whole milk, but any kind will work fine.
- Butter: I prefer to bake with unsalted butter.
- Salt: You can omit this if you like, though a tiny amount helps them have the best flavor.
- Dried rosemary: This is optional for an extra flavor note. The rosemary adds a nice flavor, but you can leave it out if you prefer.
Step-by-Step Instructions
Here’s a look at the process involved in making this toddler snack. Scroll down to the bottom of the post for the full information.

- Add all ingredients to the food processor.
- Blend until it sticks together into a batter. You may need to pulse it a few times, as the mixture is a thick batter.
- Roll out the dough between two pieces of parchment paper coated with a little flour to prevent it from sticking.
- Use cookie cutters, a knife, or a pastry wheel to cut out crackers.
- Place onto a parchment-lined baking sheet or use a silicone baking mat.
- Bake until golden brown.
TIP: Re-roll the dough and repeat the process to use all of the dough. If the dough is ever too sticky to roll, place into the fridge for 5-10 minutes to firm up. You can also make the dough ahead, wrap it in plastic wrap, and store it in the refrigerator until ready to make the crackers.

How to Keep Homemade Crackers Crisp
These crackers are best eaten soon after they come out of the oven—they small so good I don’t know how you’d resist!—but you can store them in an airtight container at room temperature for up to a day or two.
They start to soften as they sit, so if you’re worried about eating the whole batch, make half and store the rest of the dough in a zip top bag in the fridge or freezer, and when ready to make more, bring the dough to room temp and bake!
How to Store
These crackers are best eaten on the day they’re made, but you can store them in an airtight container at room temperature for a day or two.
Best Tips for Success
- To make these gluten-free, use gluten-free flour blend and certified gluten-free rolled oats.
- Use the rosemary to add a little extra flavor, or omit it if you prefer. Or try garlic powder or black pepper for other flavor variations.
- If your dough is sticky at any point, place it into the fridge for a few minutes to firm up. If your dough seems to not come together when it’s in the food processor, add a few additional drops of milk.
- Set the timer for the lower end of the baking range to start, then add another minute until the edges are lightly golden brown. The edges can get very brown really fast at the end.
- To make a smaller batch, place half of the dough into a freezer storage bag, seal, and freeze for up to 3 months. Thaw at room temperature, roll out, cut out shapes, and bake whenever the urge strikes!
- You may also like my go-to Store-Bought Snacks.
- Dairy-free: Use nondairy cheese and softened coconut oil in place of the cheese and butter.
- Gluten-free: Use a 1:1 style of gluten-free flour blend like the one from King Arthur Flour.
Related Recipes
I’d love to hear your feedback on this recipe, so please chime in below to share!

-
Line a baking sheet with parchment paper and preheat the oven to 375 degrees F.
-
Add all ingredients to the bowl of a food processor. Pulse a few times to grind, then blend for 15-20 seconds until dough comes together.
-
Form the dough into a disc. Dust a piece of parchment with flour, place the dough on top, and add another piece of parchment to cover.
-
Roll out until 1/4-inch thick. Cut with small cookie cutters and place on the prepared baking sheet. Re-roll and cut remaining dough until completed.
-
(If your milk, cheese, and butter are cold the dough should be easy to roll out between parchment paper. If the dough seems too sticky, stick it into the fridge for 5-10 minutes.)
-
Bake 14-16 minutes or until crackers are golden. Cool for a few minutes on a wire rack before serving.
-
Store in an airtight container for up to 2 days at room temperature.
- Gluten-free: Use gluten-free flour blend and certified gluten-free rolled oats.
- To make these without a food processor, grind the oats in a blender (or use instant oats). Add to a bowl with the rest of the ingredients, dicing the butter very small. Use your hands to squish the butter into the rest of the ingredients (like you would if you were making pie crust) to bring the dough together. You may need a smidge more milk.
- Use the rosemary to add a little extra flavor, or omit it if you prefer.
- If your dough is sticky at any point, place it into the fridge for a few minutes to firm up.
- If your dough seems to not come together when it’s in the food processor, add a few additional drops of milk.
- Set the timer for the lower end of the baking range to start, then add another minute until the edges are lightly golden brown. The edges can get very brown really fast at the end.
- These crackers are best eaten on the day they’re made, but you can store them in an airtight container at room temperature for a day or two.
- To make a smaller batch, place half of the dough into a freezer storage bag, seal, and freeze for up to 3 months. Thaw at room temperature, roll out, cut out shapes, and bake whenever the urge strikes!
Serving: 4crackers, Calories: 236kcal, Carbohydrates: 17g, Protein: 11g, Fat: 15g, Saturated Fat: 9g, Polyunsaturated Fat: 1g, Monounsaturated Fat: 4g, Trans Fat: 1g, Cholesterol: 42mg, Sodium: 236mg, Potassium: 135mg, Fiber: 2g, Sugar: 1g, Vitamin A: 434IU, Calcium: 246mg, Iron: 1mg
This post was first published February 2018.


