

These savory Cheese Muffins are a perfect side dish or snack to share with the kids. They’re easy to make, yummy to eat, and have a cheesy deliciousness everyone will love!
I love savory muffins like my Pizza Muffins, Vegetable Muffins, and Broccoli Muffins, and wanted to add a classic Cheese Muffin to the mix. This recipe is a perfect side dish for a range of soups, salads, and chili recipes, it has pure cheese flavor, and is so easy to make.
The texture is a soft, cheesy muffin that is super tender. They are incredibly moist, contain ample protein and calcium, and even freeze well.
You can even serve them for an easy toddler snack! Read on for the full recipe.
(You may also like my 10 best Mini Muffin Recipes, How to Freeze Muffins and Pizza Muffins.)
Your toddler won’t eat? Help is here!
Sign up for our email updates to get tips and ideas sent your way!
Ingredients You Need
Here’s a look at the ingredients you need to have on hand to make Cheese Muffins so you know what to pick up from the store or have ready.
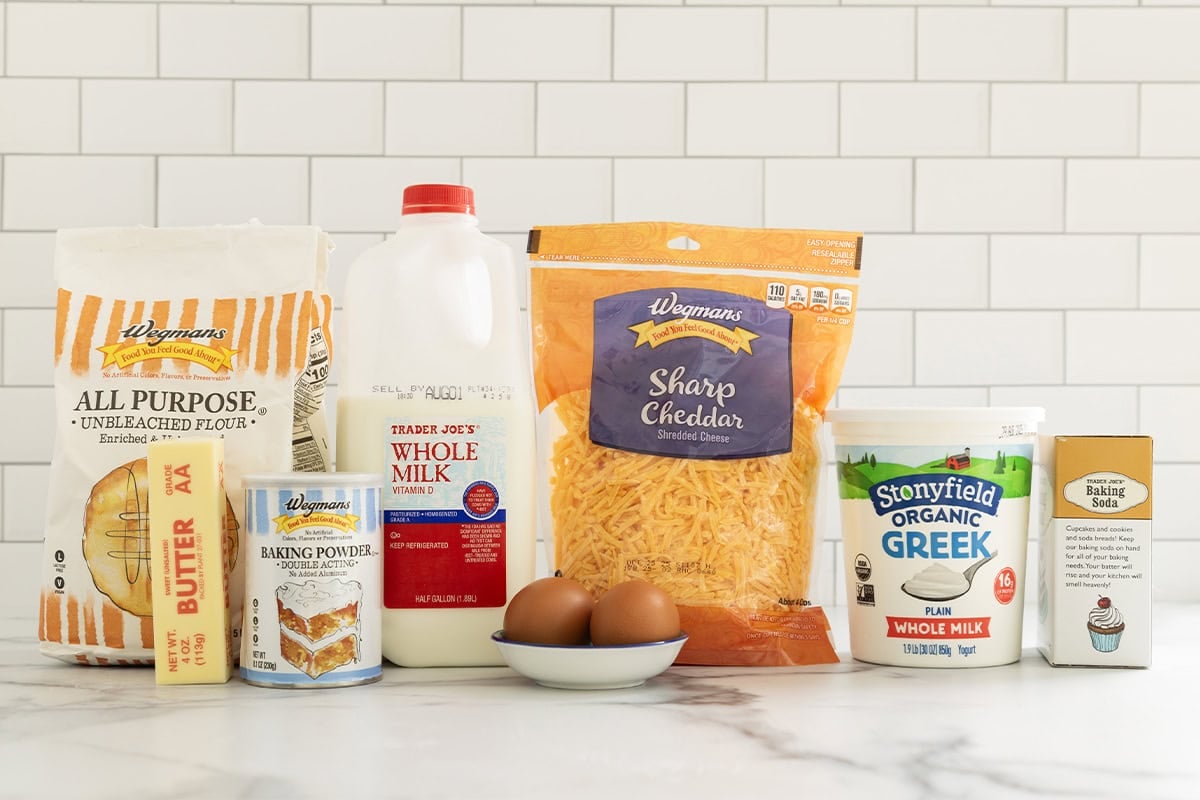
- All-purpose flour: I like to use all-purpose flour in this toddler muffin recipe so the end result is light and fluffy. You can use whole wheat pastry flour if desired.
- Baking powder and baking soda: A combination of these ingredients helps to ensure the muffins rise and bake through as expected. Be sure they are evenly incorporated into the batter.
- Salt: This recipe needs a little salt to bring out the flavors. I use fine sea salt in my baking.
- Greek yogurt: Plain Greek yogurt adds tenderness and nutrition to this recipe. Plan to use Greek-style yogurt to ensure the ratio of wet to dry ingredients is correct.
- Milk: I like to use whole milk in my recipes, so that’s what I use here, but another type will work similarly.
- Butter: I use unsalted butter in my cooking and baking so I can control the added salt. It adds richness and flavor to the Cheese Muffins.
- Eggs: Large eggs help ensure the muffins bake through properly, rise as expected, and have a tender crumb once baked.
- Cheddar cheese: I prefer to use sharp cheddar cheese in this recipe so the muffins have plenty of flavor. You can buy it pre-shredded or shred a block of cheese with a handheld cheese grater or box grater.
- Garlic powder and parsley: Feel free to add either of these, if desired, for more flavor.
Step-by-Step Instructions
Here’s a preview of how to make these Cheese Muffins so you know what to expect from the process. Scroll down to the end of this post for the full information, including the amounts and the timing.
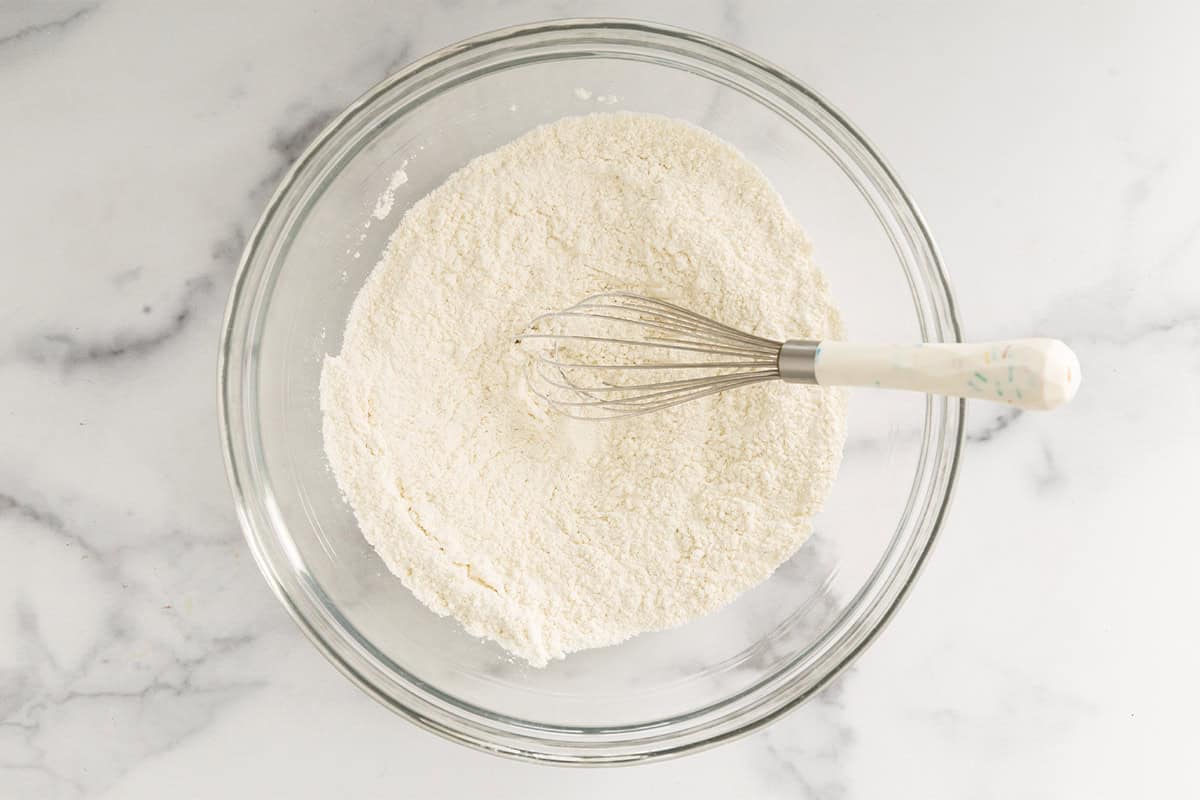
Step 1. In a medium bowl, stir together the dry ingredients.

Step 2. In another bowl, stir together the wet ingredients. Gently stir the wet ingredients into the dry ingredients.
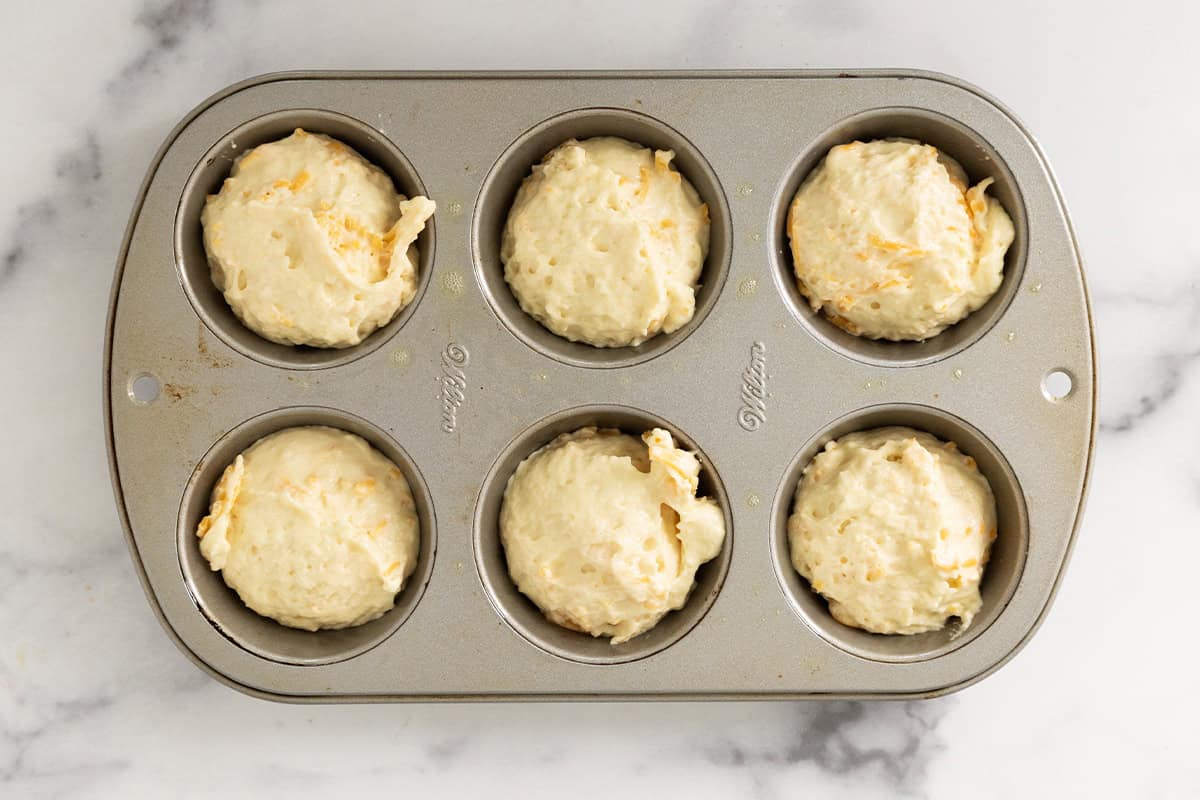
Step 3. Divide batter among the prepared muffin tin.

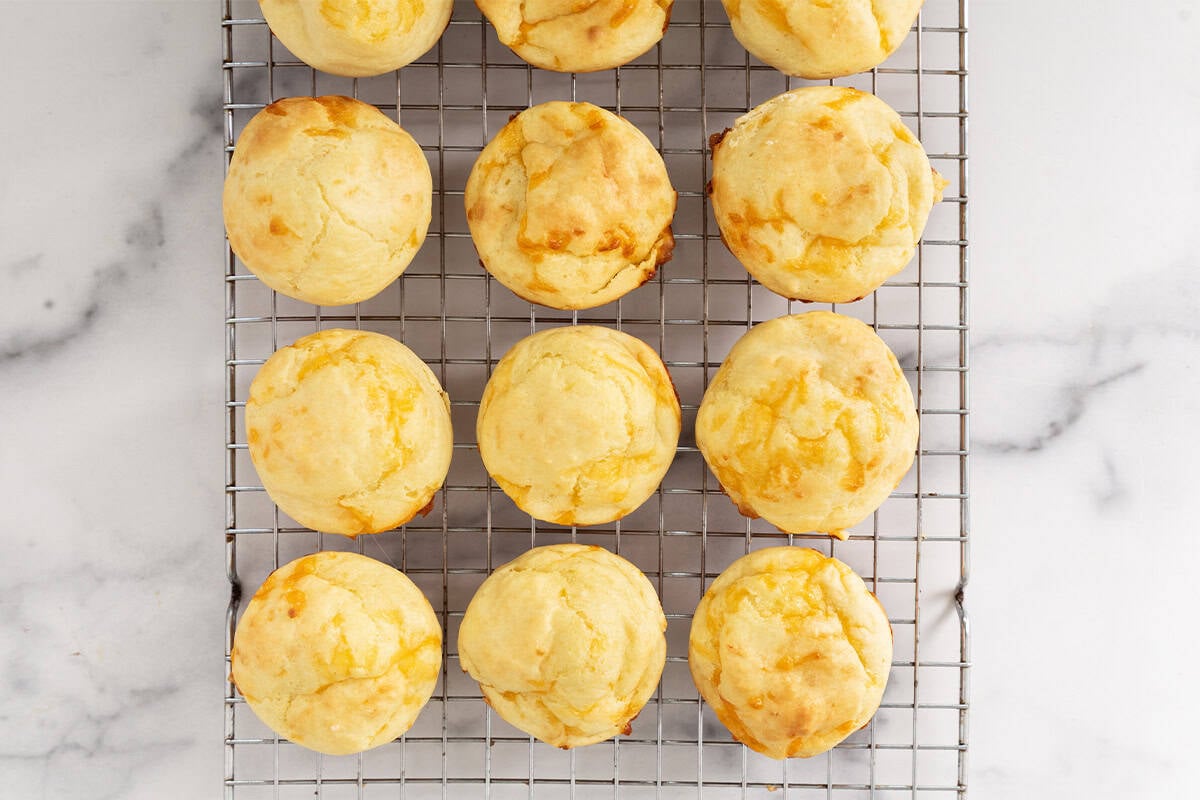
Step 4. Bake until the edges are lightly golden brown and a cake tester inserted into the center comes out clean.
TIP: These muffins are best served warm, but they also work at room temperature.
Frequently Asked Questions
Feel free to add ½ cup minced broccoli, ½ cup shredded carrot, or ½ cup shredded zucchini squeezed very dry.
Shredded cheddar cheese, Monterey Jack, Fontina, mozzarella, Gruyere, or really, any other cheese your family enjoys.
How to Store
Once cooled, store Cheese Muffins in an airtight container for up to 3 days at room temperature. Store in the fridge in an airtight container for up to 5 days.
Warm slightly to serve from the fridge (they firm up a bit when they’re cold so warming slightly returns them to their softer texture).
You can also freeze the muffins in a freezer bag with as much air removed as possible for up to 3 months. Thaw at room temperature or in 15-second increments in the microwave.
Best Tips for Success
- I like using whole-milk Greek yogurt in this recipe.
- Substitute cup-for-cup gluten-free flour in place of the wheat flour as needed.
- Dip into warmed pizza sauce or serve alongside soup, salad, or another main dish.
I’d love to hear your feedback on this post, so please rate and comment below!

-
Preheat the oven to 375 degrees F. Grease a 12-cup standard muffin pan with nonstick spray.
-
In a medium bowl, stir together the flours, baking powder, baking soda, and salt.
-
In another bowl, stir together the yogurt, milk, butter, eggs, and cheese.
-
Gently stir the yogurt mixture into the flour mixture. (Expect the batter to be thick.)
-
Add the garlic powder and parsley, if using.
-
Divide batter among the prepared muffin tin, using about ¼ cup batter in each cup.
-
Bake for 16-18 minutes, or until the edges are lightly golden brown and a cake tester inserted into the center comes out clean. Remove from oven, then transfer muffins to a wire rack to cool. Serve warm.
- Once cooled, store in an airtight container for up to 3 days at room temperature. Store in the fridge in an airtight container for up to 5 days.
- Warm slightly to serve from the fridge (they firm up a bit when they’re cold so warming slightly returns them to their softer texture).
- You can also freeze the muffins in a freezer bag with as much air removed as possible for up to 3 months. Thaw at room temperature or in 15-second increments in the microwave.
- I like using whole-milk Greek yogurt in this recipe.
- Gluten-free: Substitute cup-for-cup gluten-free flour in place of the wheat flour.
Serving: 1 muffin, Calories: 154kcal, Carbohydrates: 13g, Protein: 7g, Fat: 8g, Saturated Fat: 5g, Polyunsaturated Fat: 0.5g, Monounsaturated Fat: 2g, Trans Fat: 0.2g, Cholesterol: 49mg, Sodium: 259mg, Potassium: 69mg, Fiber: 0.4g, Sugar: 1g, Vitamin A: 264IU, Calcium: 121mg, Iron: 1mg